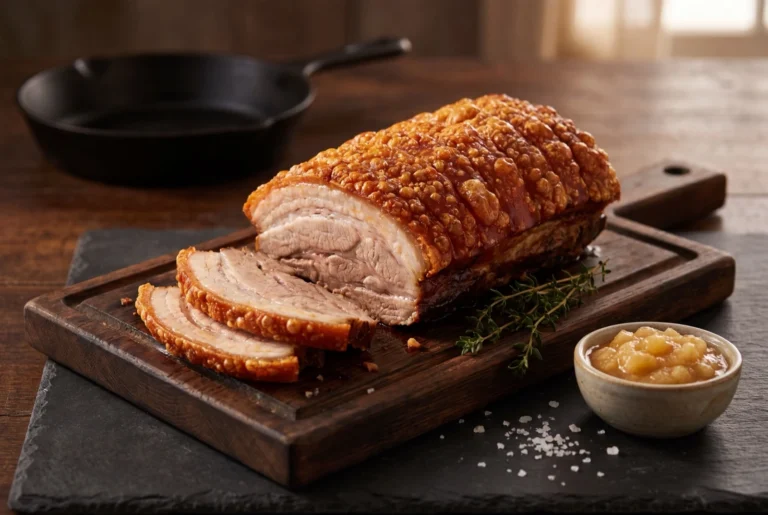
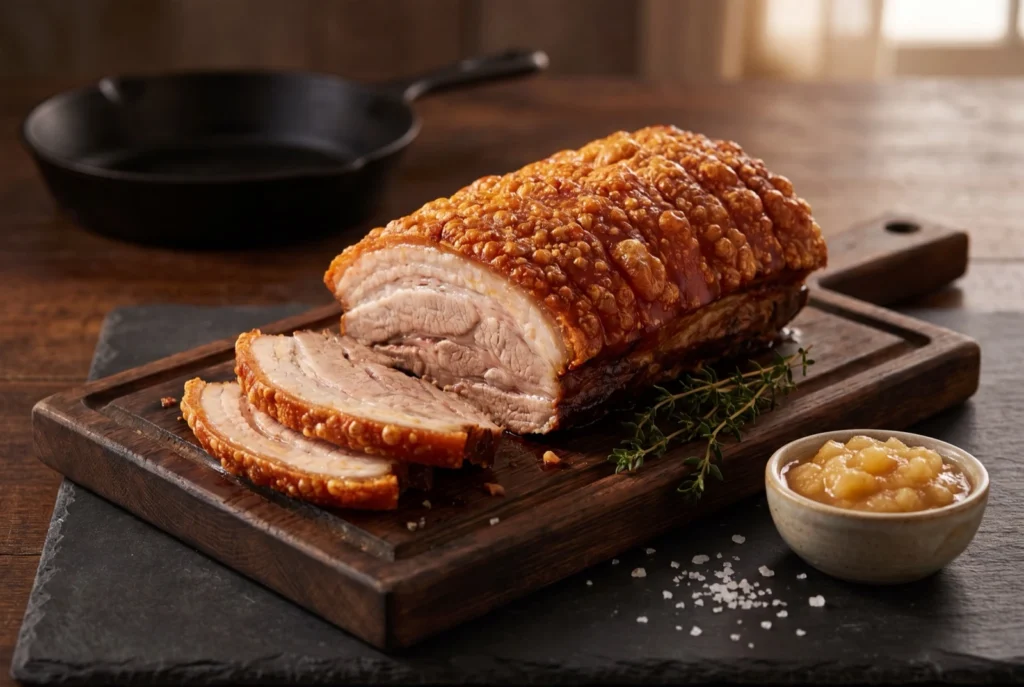
Making truly crispy pork belly at home can feel like a gamble. You follow a recipe to the letter but still end up with disappointingly leathery skin. The secret isn’t one single trick. It’s a two-part process that guarantees tender meat and that amazing, bubbly crackling every single time. This method is all about patience and temperature control, and it’s the one we swear by.
At Church Street Butcher, we know that great cooking starts with two things: the right cut and a solid technique. If you’re ready to master this classic roast, pop into our Brighton shop. We’ll chat you through it and set you up with the perfect piece of pork.
The Unforgettable Crunch Starts with the Right Cut
For the best results, you’ll want a boneless cut with a good, even layer of fat under the skin. When we pick a piece for roasting, our butchers look for a rolled loin or, even better, a piece of belly that’s fairly uniform in thickness. That even fat layer is key. As it slowly melts, it bastes the meat from above and helps turn the skin into that perfect crackling.
Moisture is the enemy of crispy skin. Simple as that. Before you do anything else, get that pork skin completely dry. Pat it down thoroughly with a paper towel. If you have the time (and it’s worth it), leave the pork uncovered on a wire rack in the fridge overnight. This is the single most effective thing you can do for your crackling. It’s non-negotiable.
Salting and Scoring for Success
Good prep is half the battle. Grab a very sharp knife and score the skin at 1cm intervals. A clean Stanley knife—used only for food, of course—is a great tool for this. You want to cut through the rind and the fat, but be careful not to go so deep you slice the meat. Scoring does two things: it lets the salt penetrate and helps the fat render out evenly as it cooks.
Next, get generous with coarse sea salt. Really work it into all those scores, rubbing it right across the surface. The salt isn’t just for flavour. It’s pulling out the very last traces of moisture from the skin, giving you that perfectly dry surface you need for a bubbly, crisp finish.
Act One The Low and Slow Render
The first stage of cooking is all about getting the meat tender. Start with a long, slow roast in a low oven, around 140°C–150°C. For the next two to two-and-a-half hours, this gentle heat works its magic. It slowly melts the fat and breaks down connective tissues, which makes the meat succulent without drying it out. The belly basically cooks in its own fat.
Place the pork on a bed of aromatics in the roasting tin—fennel wedges, onions, or carrots are all great choices. This isn’t just for show. It subtly flavours the meat from below and, just as importantly, lifts the pork off the base of the tin. That allows hot air to circulate for more even cooking.
Don’t Just Watch the Clock, Watch the Temperature
A meat thermometer is your best friend here. It’s the only way to guarantee perfectly cooked, juicy meat. For pork, you’re aiming for a safe internal temperature of 71°C. Check the meat towards the end of the slow-roasting stage to make sure it’s cooked through before you crank up the heat for the final blast.
Act Two The Final Blast for Crackling
After the slow roast, it’s all about the skin. Take the pork out of the oven and crank the temperature way up to a very hot 220°C–240°C. This intense blast of heat is what shocks the skin, causing it to puff up, blister, and get unbelievably crispy.
This final stage is fast, maybe 20 to 30 minutes, so you need to keep a close eye on it. Don’t wander off. Listen for the satisfying spitting and crackling sounds from the oven—that’s your cue that the magic is happening. You’re looking for a deep golden colour and that classic bubbly texture. Just be careful it doesn’t catch and burn at the last minute.
Rest Carve and Serve The Final Flourish
Don’t skip the resting step. Letting the meat rest for at least 10 minutes before you carve is essential. This short pause gives the juices time to redistribute throughout the meat, which is the difference between a succulent slice and a dry one.
You’ve worked hard for that crackling, so let’s not destroy it now. Turn the pork belly skin-side down on the cutting board. Use a serrated knife or a heavy, sharp chef’s knife and press down firmly to slice through the tender meat first. This way, you get clean portions without shattering all that perfect crunch.
How Much Pork Belly to Buy
We suggest planning for 400–500 g of uncooked pork belly per person. It might sound like a lot, but the cut shrinks quite a bit during the long, slow cook as all that lovely fat renders away.
This two-act method is our go-to for a memorable pork belly roast. It takes a bit of time, but the results are absolutely worth the effort.
For the best free-range pork and some friendly advice, visit us at our Church Street shop. We’re always happy to help you choose the right cut for your next meal.